At my HP "Warm Up Your Walls" party we had several crafts. One of them was to decorate mason jars with a nice design to make them festive votive holders. I was inspired by this jar that I saw on Pinterest:
That looked simple enough. Star with a colored mason jar, some new puff paint and evenly spaced marking on the jar. I have done lots of things like this before, so I thought it would be easy. I was very wrong. My attempt was bad enough that I ended up pulling all of the puff paint off of the jar. There were several problems; the biggest and most obvious one was my inability to render the designs in a way that made them match. I could also not make lines small enough to make my design look delicate and lace-like that I admired on the sample. In the end I decided to go with a design that did not have to be matched up or meet up anywhere on the glass. I also found that I could add glitter right after drawing on the design as the puff paint was still wet enough to allow the glitter to adhere to it. Finally, I found that it took MUCH LONGER to dry that I had expected. In the end we did decorate some jars with fun designs. I simply had my friend leave them at our house so that they could dry successfully. The actual jars are a lot more fun in real life than they look in the photograph above.
----
We enjoyed a nice dinner this evening:
Better Than Olive Garden Fettuccine Alfredo
via: Cooking Classy Blog
Yield: 4 Servings
(recipe slightly modified)
Ingredients
1 1/2 cups heavy cream (I used 3 cups of half and half instead of the heavy cream and the milk)
1 1/2 cups whole milk
3 large egg yolks
2 tsp cornstarch
1/4 tsp garlic powder (you can add an additional 1/4 tsp for more garlic flavor)
1/4 tsp onion powder
1/2 tsp salt, or to taste
2 oz freshly, finely grated Parmesan Cheese (1/2 cup)
2 oz freshly, finely grated Romano Cheese (1/2 cup), plus more for serving
2 oz freshly, finely grated Mozzarella Cheese (1/2 cup)
Freshly cracked black pepper, to taste
Chopped fresh parsley, for garnish (optional)
1 lb Fettuccine Pasta, uncooked
Cook pasta according to directions listed on package, scoop out and reserve 1/4 cup pasta water into a small bowl before draining.
In a large saucepan combine cream and milk. Scoop out and reserve 1/4 cup cream mixture into a small mixing bowl. Scoop out and reserve another 1/4 cup cream mixture into a separate small mixing bowl. Bring cream mixture in saucepan to a simmer over medium heat (a gentle bubble just below boiling). Reduce heat to medium low. Add 3 egg yolks to one of the small mixing bowls containing 1/4 cup cream mixture and stir egg yolks until very well blended, about 30 seconds. Add 2 tsp cornstarch to separate small mixing bowl containing remaining 1/4 cup cream mixture, whisk mixture until well blended and smooth. Add 1/4 cup hot cream mixture from saucepan to egg yolk mixture and blend, then add 1/4 cup hot cream mixture to cornstarch mixture and blend. Pour both mixtures into hot cream mixture in saucepan. Cook mixture over medium low heat for 3 - 4 minutes, stirring constantly until mixture has thickened and coats the back of a wooden spoon. Reduce heat to low and sprinkle in garlic powder, onion powder, salt and finely grated cheeses. Cook, stirring constantly until cheese has melted. Thin sauce, if desired with pasta water that was reserved (I only add 2 Tbsp pasta water, just add to your desired consistency).
Pour Alfredo sauce over drained pasta, toss to evenly coat. Plate and garnish with additional grated Romano Cheese, optional chopped fresh parsley and sprinkle with fresh cracked black pepper. Serve immediately.
---------
Garlicy Shrimp
1 lb shrimp, peeled and deveined
1 tbsp lemon pepper seasoning
3 cloves garlic, minced
1 tea. Basil (I used dried)
1 tbsp olive oil
1 tbsp butter
Melt butter in large skillet over medium-high heat adding in the garlic and basil. Toss shrimp with lemon pepper seasoning and olive oil. Add to the skillet. Cook, stirring occasionally, for about 3 minutes. Or, until the shrimp turn pink and begin to curl. Add the garlic and cook for another 30 seconds. Place shrimp on top of pasta, and top with chopped parsley.
Monday, November 18, 2013
Sunday, November 17, 2013
Hand Crafted Lotion Bars for the Alpine Valley School Auction
Friday night was the live auction at AVS. We made several things for the auction. I made lotion bars with bee's wax from Ethan's hives from last year (before I started working the hives with Ethan), shea butter and coconut oil. Ellie made the fun containers. Each container has two lotion bars, one that is peppermint & orange; the other one is balsam, spruce and orange. I was very pleased that one container sold for $65. There is another set on the silent auction as well. I also made a 5" x 7" leather cover for a small journal. I hope they both go for a reasonable price. You can view the items and everything else in the auction here:
Alpine Valley School Auction Site
Ellie and Kohlton also made a three dimensional, wooden tiger.
On Saturday night we had a nice family dinner at Mark and Lilia's house. She is a wonderful cook and we really enjoyed the meal, especially the appetizers:
Smoked Salmon in Phylo Cups (or toast):
5 oz. Smoked Salmon (or trout)
1 TBL. Stone Ground Mustard
1 1/2 TBL. Mayonnaise (Lilia used Mayo with Olive Oil)
Phyllo Cups or Small Toasts
Flake the salmon in a bowl. Add the mustard and mayo. Mix well. Spoon into the phyllo cups or on the top of toasts. Place slices or radishes topped with chopped dill. Season with salt, pepper and lemon juice.
Alpine Valley School Auction Site
Ellie and Kohlton also made a three dimensional, wooden tiger.
On Saturday night we had a nice family dinner at Mark and Lilia's house. She is a wonderful cook and we really enjoyed the meal, especially the appetizers:
Smoked Salmon in Phylo Cups (or toast):
5 oz. Smoked Salmon (or trout)
1 TBL. Stone Ground Mustard
1 1/2 TBL. Mayonnaise (Lilia used Mayo with Olive Oil)
Phyllo Cups or Small Toasts
Flake the salmon in a bowl. Add the mustard and mayo. Mix well. Spoon into the phyllo cups or on the top of toasts. Place slices or radishes topped with chopped dill. Season with salt, pepper and lemon juice.
Thursday, November 14, 2013
Celebrating Aunt Kathy's Birthday + Cheese Cookies (Wafers) Recipe
I love this photograph of my mother and her sister. They are both so lovely, and so difficult to photography. I had not known what I would give each of them for Christmas, but now that is clear. I will make mounted prints of this photograph for each of them.
My aunt turned 71. They like to give each other silly, slightly rude cards. They both chuckle and say, "oh, I think you have been naughty" before even opening the envelope.
When they were younger they were very different. My aunt was a serious, studious young woman who made plans, worked hard and did well in college. My mother, being a more free spirited artist had a bit more fun and partied a bit more. One of my favorite stories is about the time when Kathy saved up to buy a nice coat. My mother had her eye on the coat. One day when Kathy was gone my mother took a pair of scissors to the coat and made it shorter so that it would fit her nicely. She was indeed naughty. I am sure that Kathy did not laugh about it at the time, but they have a good chuckle about it now.
I am thankful for a nice photo of Ellie and I. I used to have a wonderful one on my old phone, but lost it when the phone stopped functioning.
At my mother's request I provided appetizers, including the much desired Cheese Cookies:
Galettes Au Fromage
via: Mastering the Art of French Cooking by S. Beck, L. Bertholle and Julia Child
(modifications are indicted with italics)
(About 30-50 wafers)
These featherweight wafers are often made of Swiss cheese, but you can use other cheese. The flour is just enough to hold the galettes together while they bake, but you will probably need more for soft cheeses, and should always bake one as a test.
These may be baked, then frozen, and reheated for 5 minutes or so in a hot oven. From "Mastering the Art of French Cooking" (Knopf, 1961).
1/2 pound (about 2 pressed-down cups) grated Swiss cheese (I use Emmentaler cheese for the best flavor.)
1/2 pound softened butter
3/4 cup sifted all-purpose flour, more if needed (1 cup 2 TBL.)
1/4 teaspoon pepper
Pinch of cayenne pepper
Salt to taste
1 egg beaten with 1/2 teaspoon water in a small bowl
1/4 cup grated Swiss cheese for topping
Preheat the oven to 425 degrees. (400 degrees)
Knead all the ingredients together in a bowl or on a board. The mixture will be sticky. Roll a 1-teaspoon bit into a ball in the palms of your hands, then flatten it into a cake 1/4 inch thick. Bake it for 8 to 10 minutes on a lightly buttered baking sheet in a hot oven to observe how it holds together; it should spread slightly, puff slightly, and brown. If it spreads out more than you wish, or is too fragile, knead in 1/4 cup more flour and make another test.
When you are satisfied, form the rest of the dough into cakes and place on baking sheets. Paint the tops with beaten egg and top each with a pinch of grated cheese. Bake for 8 to 10 minutes until the galettes have puffed, and browned slightly. Cool them on a rack.
My aunt turned 71. They like to give each other silly, slightly rude cards. They both chuckle and say, "oh, I think you have been naughty" before even opening the envelope.
When they were younger they were very different. My aunt was a serious, studious young woman who made plans, worked hard and did well in college. My mother, being a more free spirited artist had a bit more fun and partied a bit more. One of my favorite stories is about the time when Kathy saved up to buy a nice coat. My mother had her eye on the coat. One day when Kathy was gone my mother took a pair of scissors to the coat and made it shorter so that it would fit her nicely. She was indeed naughty. I am sure that Kathy did not laugh about it at the time, but they have a good chuckle about it now.
I am thankful for a nice photo of Ellie and I. I used to have a wonderful one on my old phone, but lost it when the phone stopped functioning.
At my mother's request I provided appetizers, including the much desired Cheese Cookies:
Galettes Au Fromage
via: Mastering the Art of French Cooking by S. Beck, L. Bertholle and Julia Child
(modifications are indicted with italics)
(About 30-50 wafers)
These featherweight wafers are often made of Swiss cheese, but you can use other cheese. The flour is just enough to hold the galettes together while they bake, but you will probably need more for soft cheeses, and should always bake one as a test.
These may be baked, then frozen, and reheated for 5 minutes or so in a hot oven. From "Mastering the Art of French Cooking" (Knopf, 1961).
1/2 pound (about 2 pressed-down cups) grated Swiss cheese (I use Emmentaler cheese for the best flavor.)
1/2 pound softened butter
3/4 cup sifted all-purpose flour, more if needed (1 cup 2 TBL.)
1/4 teaspoon pepper
Pinch of cayenne pepper
Salt to taste
1 egg beaten with 1/2 teaspoon water in a small bowl
1/4 cup grated Swiss cheese for topping
Preheat the oven to 425 degrees. (400 degrees)
Knead all the ingredients together in a bowl or on a board. The mixture will be sticky. Roll a 1-teaspoon bit into a ball in the palms of your hands, then flatten it into a cake 1/4 inch thick. Bake it for 8 to 10 minutes on a lightly buttered baking sheet in a hot oven to observe how it holds together; it should spread slightly, puff slightly, and brown. If it spreads out more than you wish, or is too fragile, knead in 1/4 cup more flour and make another test.
When you are satisfied, form the rest of the dough into cakes and place on baking sheets. Paint the tops with beaten egg and top each with a pinch of grated cheese. Bake for 8 to 10 minutes until the galettes have puffed, and browned slightly. Cool them on a rack.
Tuesday, November 12, 2013
A Little Leather-Bound Journal for the Alpine Valley School Auction - Gearing Up for Holiday Giving
Each year I aim to make a handmade gift for each person in my immediate family. Now that the kids are nearly grown, or are grown, it is harder. I am asking directly for requests. This year Ethan has requested a leather cover for his Delorme atlas. In preparation for that gift making session, I tackled a smaller leather project so that I could figure out what to do and what not to do.
The outside of the journal.
The Alpine Valley School auction is coming up on Friday so I decided to make a small, 5" x 7" leather cover for a journal. I made it so that the journal, once full, could be switched out.
Making the journal was not very hard and I am happily onto crafting the bigger one. The leather that I used is pretty thin. Ethan would like his cover made with much thicker leather, but I am not sure that I have the skill or the funds to take on that challenge.
The outside of the journal.
The Alpine Valley School auction is coming up on Friday so I decided to make a small, 5" x 7" leather cover for a journal. I made it so that the journal, once full, could be switched out.
Making the journal was not very hard and I am happily onto crafting the bigger one. The leather that I used is pretty thin. Ethan would like his cover made with much thicker leather, but I am not sure that I have the skill or the funds to take on that challenge.
Sunday, November 10, 2013
My "HP Warm Up Your Walls" Party & a Pumpkin Gingerbread Recipe
Yesterday I hosted a "HP Warm Up Your Walls" party. I had this opportunity through HouseParty.com . It was similar to my Shutterfly party last year. It was fun and I am thankful for the opportunity to host parties. HP recently teamed up with Walmart to offer an awesome array of photo gifts. Before this hosting opportunity I had no idea that Walmart even had a photocenter.
As part of being a hostess, I was given certificates to receive some free photo decor items. It was fun and a bit hard to pick the photos I would use. The most challenging was the 8" x 20", but in the end I found it to be the most exciting option. They are mounted on very light pieces of wood with silver edges. You can be sure that I will be making more of those! I like how they are kind of unusual. I also loved the faux canvas print. We do not have any other images that are printed in such a large format. Along with the coupons, I also received Command Hooks to hand up the photos and tons of stuff for goodie bags including great coupons for free gifts for my guests, awesome coupons for them and some for them to give away. They also received flavored chapstick, clothes pins to decorate to hang their holiday cards, binder clips, etc. I augmented those goodies with stuff I picked up on a great sale at Bath and Bodyworks so that everyone went home with a gift.
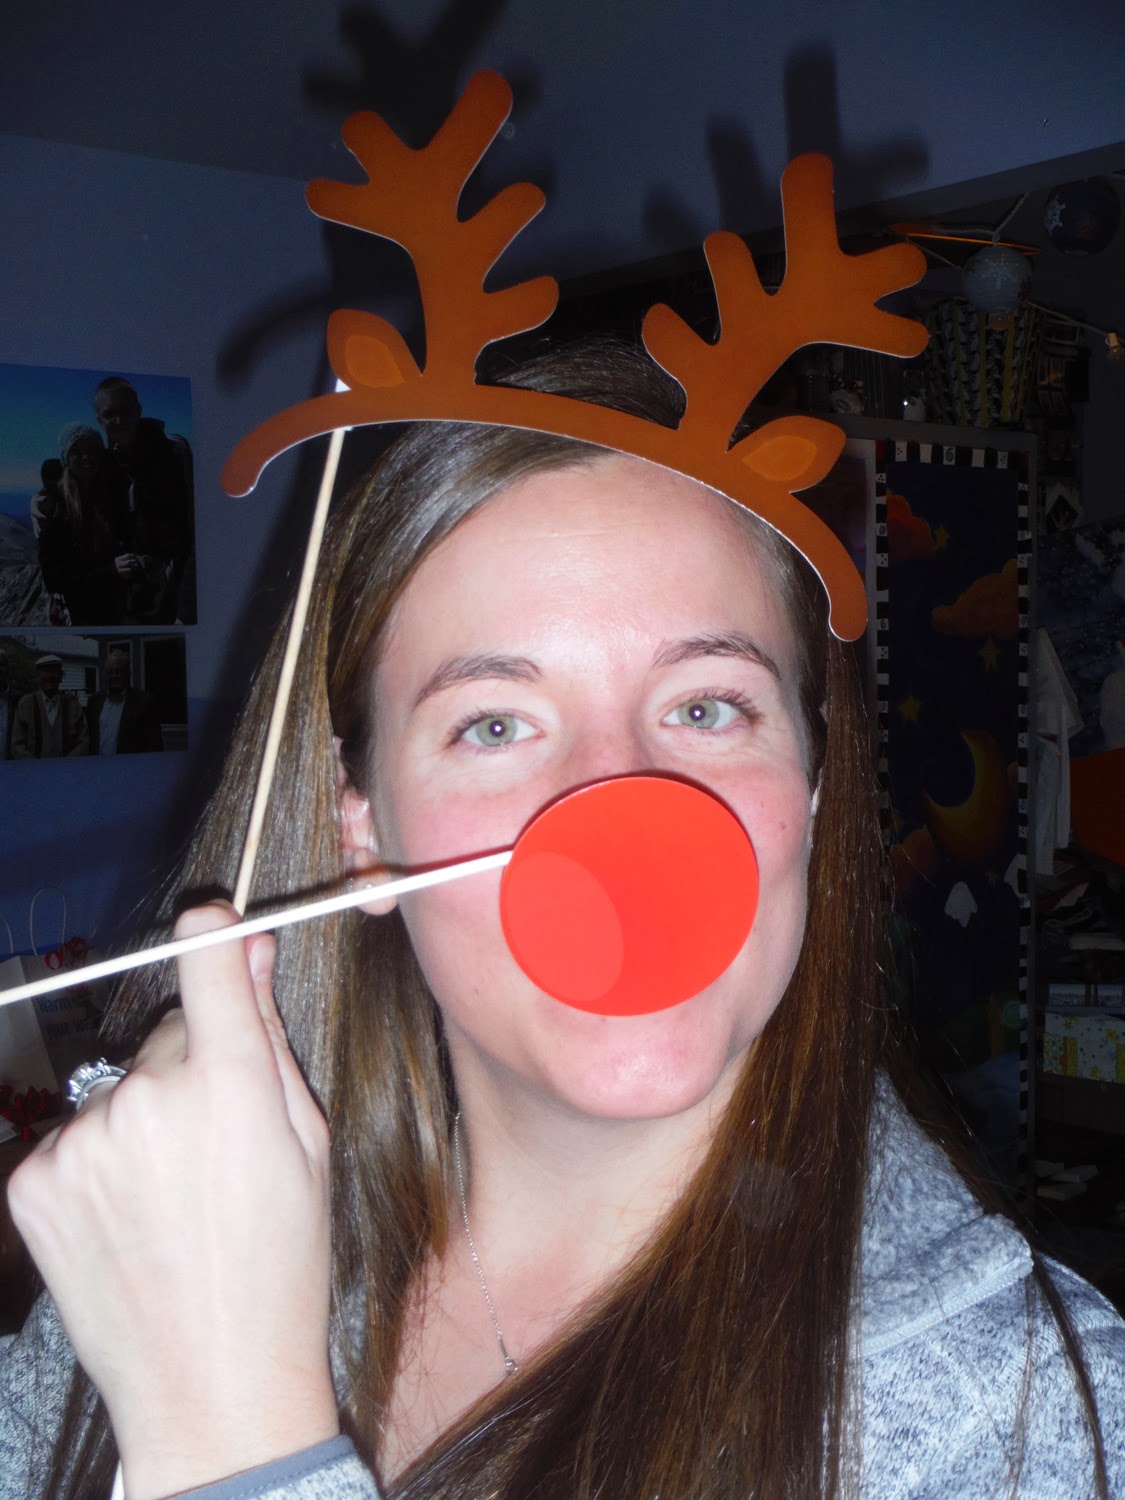
As you can see in the photo above, they also sent me sample photo holiday cards and garland. I had some lovely wired ribbon that I used to make bows to pull the look together. One of the surprises was how much fun we had with the photobooth items that were included in my party box.
We also made a few fun crafts. Some of us decorated canning jars with puff paint and glitter. They will be used to house candles for the holiday season. Others made snowflake photo ornaments. And of course we had lots of great food. I have included the recipe for the Pumpkin Gingerbread that I made below.
It was a small party. Several of the people who had expected to join us were not able to attend. That is okay. We had a great time visiting, creating and feasting together.
Here's the recipe that I promised:
Pumpkin Gingerbread
via: The American County Inn and Bed & Breakfast Cookbook (recipe slightly mod.)
2 - 2.5 cups Sugar
1 cup Veg. Oil (Canola)
4 eggs
1 pound canned pumpkin (1 smallish can, pureed pumpkin, not the pumpkin pie mix))
--
3 1/2 cups Flour
2 tea. Baking Soda
1 tea. Salt ( you can leave this out, if you like)
1/2 tea. Baking Powder
2 tea. Ginger (dried, ground)
1 tea. Cinnamon (ground)
1 tea. Nutmeg (ground)
1 tea. Cloves (ground)
1 tea. Allspice (ground)
2/3 cup Water
Preheat the oven to 350 degrees. Butter 2 loaf pans. You could also make these into muffins, if you prefer to.
In a large mixer blend together the sugar, oil, eggs and pumpkin puree.
In an other bowl combine the flour, baking soda, salt, baking powder, ginger, cinnamon, nutmeg, cloves and allspice. Add this mix into the wet mix slowly, stirring or mixing in between the bits of dry ingredients. Add the water and mix well.
Pour into the prepared loaf pans and bake for 1 hour, or until done.
As part of being a hostess, I was given certificates to receive some free photo decor items. It was fun and a bit hard to pick the photos I would use. The most challenging was the 8" x 20", but in the end I found it to be the most exciting option. They are mounted on very light pieces of wood with silver edges. You can be sure that I will be making more of those! I like how they are kind of unusual. I also loved the faux canvas print. We do not have any other images that are printed in such a large format. Along with the coupons, I also received Command Hooks to hand up the photos and tons of stuff for goodie bags including great coupons for free gifts for my guests, awesome coupons for them and some for them to give away. They also received flavored chapstick, clothes pins to decorate to hang their holiday cards, binder clips, etc. I augmented those goodies with stuff I picked up on a great sale at Bath and Bodyworks so that everyone went home with a gift.
As you can see in the photo above, they also sent me sample photo holiday cards and garland. I had some lovely wired ribbon that I used to make bows to pull the look together. One of the surprises was how much fun we had with the photobooth items that were included in my party box.
We also made a few fun crafts. Some of us decorated canning jars with puff paint and glitter. They will be used to house candles for the holiday season. Others made snowflake photo ornaments. And of course we had lots of great food. I have included the recipe for the Pumpkin Gingerbread that I made below.
It was a small party. Several of the people who had expected to join us were not able to attend. That is okay. We had a great time visiting, creating and feasting together.
Here's the recipe that I promised:
Pumpkin Gingerbread
via: The American County Inn and Bed & Breakfast Cookbook (recipe slightly mod.)
2 - 2.5 cups Sugar
1 cup Veg. Oil (Canola)
4 eggs
1 pound canned pumpkin (1 smallish can, pureed pumpkin, not the pumpkin pie mix))
--
3 1/2 cups Flour
2 tea. Baking Soda
1 tea. Salt ( you can leave this out, if you like)
1/2 tea. Baking Powder
2 tea. Ginger (dried, ground)
1 tea. Cinnamon (ground)
1 tea. Nutmeg (ground)
1 tea. Cloves (ground)
1 tea. Allspice (ground)
2/3 cup Water
Preheat the oven to 350 degrees. Butter 2 loaf pans. You could also make these into muffins, if you prefer to.
In a large mixer blend together the sugar, oil, eggs and pumpkin puree.
In an other bowl combine the flour, baking soda, salt, baking powder, ginger, cinnamon, nutmeg, cloves and allspice. Add this mix into the wet mix slowly, stirring or mixing in between the bits of dry ingredients. Add the water and mix well.
Pour into the prepared loaf pans and bake for 1 hour, or until done.
Sunday, November 03, 2013
Sunday Breakfast, a New Tradition with Ethan in the Kitchen
Now that the construction season is winding down, Ethan has been able to come home for many weekend of late. He has gotten in the habit of making a nice Sunday breakfast for the family. He makes RioMuffins, a family recipe shared with him by one of the guys who drives a truck for the company Ethan works for. It is a strange recipe, but wickedly good, too. Larr is very excited when Ethan says he will make breakfast.
He begins by preparing the bacon by baking it at 400 degrees for about 20 minutes. Laying down a sheet of foil makes clean up pretty quick. Then he heats the pan and begins to toast the muffins. Timing is important here. Ethan spreads raspberry jelly on the bottom muffin and yellow mustard on the top muffin. He also has sunny side up eggs cooking in a hot frying pan. The egg is topped with short pieces of bacon and slices of cheddar cheese. This is topped with the muffin top with mustard. Then it is eaten quickly and with a plate directly underneath you.
This is messy yumminess, which means a lot coming from me who does not like eggs and is not overly fond of mustard.
He begins by preparing the bacon by baking it at 400 degrees for about 20 minutes. Laying down a sheet of foil makes clean up pretty quick. Then he heats the pan and begins to toast the muffins. Timing is important here. Ethan spreads raspberry jelly on the bottom muffin and yellow mustard on the top muffin. He also has sunny side up eggs cooking in a hot frying pan. The egg is topped with short pieces of bacon and slices of cheddar cheese. This is topped with the muffin top with mustard. Then it is eaten quickly and with a plate directly underneath you.
This is messy yumminess, which means a lot coming from me who does not like eggs and is not overly fond of mustard.
Saturday, November 02, 2013
A Blustery End to October
Thursday, Halloween, found it self cold and blustery. As the evening light faded, the leaves rustled in swirly patterns on the sidewalk as wee trick-or-treaters scampered from house to house in search of treats. The last of the leaves that hung onto the trees the day before would be on the ground by the evenings end. Remmie loved playing in the pile of leaves. He would leap and bound into the pile, then poking his nose into the leaves looking for treasures he had buried earlier in the day.
After picking up Ellie and Kohlton from school, I came home to welcome Keenan over. He had appreciated the Dia de los Muertos (Day of the Dead) make-up I had for Ethan and he asked if he could be done up, too. We originally thought we would do something more colorful, but ended up on settling for a scary look instead.
The night before Ellie had done Kohlton's face.
We moved the pumpkins to the front yard. On Sunday Ellie and Larr carved pumpkins together.
After picking up Ellie and Kohlton from school, I came home to welcome Keenan over. He had appreciated the Dia de los Muertos (Day of the Dead) make-up I had for Ethan and he asked if he could be done up, too. We originally thought we would do something more colorful, but ended up on settling for a scary look instead.
The night before Ellie had done Kohlton's face.
We moved the pumpkins to the front yard. On Sunday Ellie and Larr carved pumpkins together.
Subscribe to:
Posts (Atom)