Showing posts with label dessert recipes. Show all posts

Monday, August 10, 2015

Of Paper Ship Progress, Camping and a Bunch of Recipes for the week

Things have been a bit wild and busy, so I have not had time to post an update. Today is the first day of the school year, so this will be brief.

I've worked a lot on the paper tall ship. I wanted to create a design that highlighted several different decorative papers, and something that is eye-catching. Here's what I have so far. I've installed tiny LED lights, which means that the cabins light up. I love adding lights to my creations. The switch is hidden inside of the time building on the deck. It lifts up to give access to the interior space. I am even thinking about adding lights to the mast. When I floated that idea with my family, I got a very mixed reaction, so I am not sure. I thought it might make it more magical since it will be displayed in the winter when it gets dark pretty early. I am hoping to work on the yards and the sails today.
{Paper Ship in progress}

I also spent a lot of focused time putting together a workshop that I will teach next summer, but then the subject and age group changed, so I am back to needing to do a lot of planning, sourcing, etc. The new workshop will be a lot of fun, I just need to wrap my head around it and come up with some fun, funky and creative projects to go along with teaching art history to young kids.

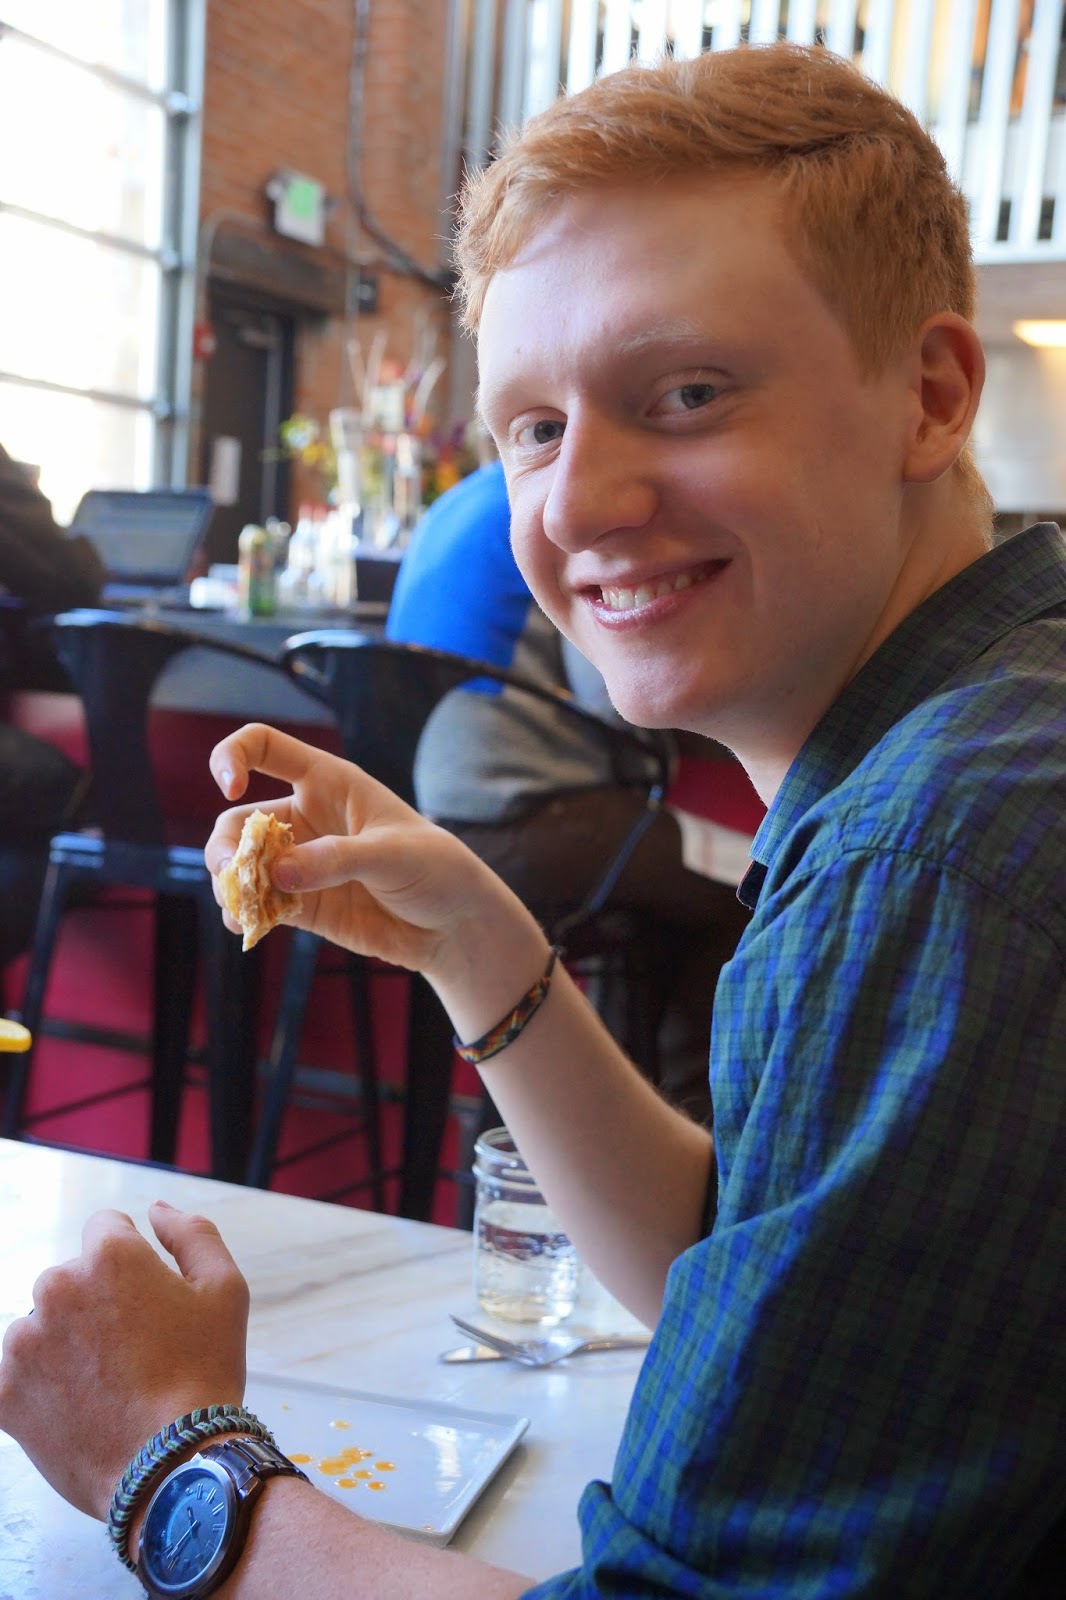
I also spent some of the weekend camping with some of the families from AVS. One of the families owns part of a valley near Boulder and they have a summer house on part of the land. Remmie (the dog) and I were there from Saturday afternoon until lunch time on Sunday. It was wonderful to finally go camping. I have been wanting to go for the last two years, so it felt good to be out in the wild. I would have liked to have some of my family with me, but they simply were not available.

We did a lot of visiting and eating. The highlight of the camping trip was when we saw a Moose family (buck, cow and calf) just a short distance away from us. The buck kept running back and forth in the river. It seemed strange. We heard that there was a big cat in the area, so we guessed that the moose was trying to distract it so that the big cat would not attack the baby. Later in the evening I set up my tent near that area. I slept lightly that night, slightly worried that the moose would return, or that the big cat might show up. Neither one did, though I could hear some sort of rodents eating grass throughout the night.

{Camping}

The next morning Remmie and I spend a while sitting outside of the tent, being calm, quiet and watching the sun peak over the mountains. I brought along some of my art materials and had a few people add images to my social sketching books. I had hoped to do more art, but that just did not happen. I am hopeful and prepared like that a lot.

The first couple of weeks of the new school year is always super busy, so I prepped a lot of food for the week. Here's a few of the recipes I will be using:

Magic Custard Cake
via: White on Rice Couple

1/2 cup Butter, unsalted
2 cups Milk
4 Eggs, separated
4 drops White Vinegar
1 1/4 cups Powdered Sugar
1 TBL Water
1 cup Flour
1 tea Vanilla Extract
Powdered Sugar for dusting


Preheat your oven to 325°F.

Lightly butter a 8"x 8" baking dish.

Melt the butter and set aside to slightly cool.

Warm the milk to lukewarm and set aside.

Whip the egg whites and vinegar to stiff peaks. Set aside.

Beat the egg yolks and sugar until light. Mix in the melted butter and the tablespoon of water for about 2 minutes or until evenly incorporated.

Mix in the flour until evenly incorporated. Slowly beat in the milk and vanilla extract until everything is well mixed.

Fold in the egg whites, 1/3 at a time. Repeat until all of the egg whites are folded in.

Pour the batter into the prepared pan and bake for 45-60 minutes or until the top is golden. Allow cake to completely cool before cutting and then dust with confectioner's sugar *see Note 1.

Note 1: For faster cooling you can place the cake in the fridge. Even after fully cooled, it will still be slightly jiggly.

Recipe Source: WhiteOnRiceCouple.com.

* The kids really enjoyed this one, especially Kohlton. I liked the fact that it was not too sweet. I think I could leave off the powdered sugar topping and make it into a breakfast item.

------------
Cajun Style Grill Packets with Corn, Potatoes, Shrimp and Sausage
via: Favorite Family Recipes

8-12 pieces of corn on the cob (4 full cobs cut in half or in thirds)
4 red potatoes, washed and cubed
20-30 uncooked shrimp (peeled or not, it's up to you)
1 Lb. smoked sausage, cut into chunks
melted butter (or olive oil), to taste
1/2 c. chicken broth (you may not need that much)
Cajun/Creole seasoning (we like to use Tony Chachere's brand), to taste
salt and pepper, to taste
Instructions

(Makes 4 grill packets)

Heat grill to 400-degrees (you can do this in your oven, too, at the same temp.).
Evenly distribute corn, potatoes, shrimp, and sausage between 4 heavy-duty foil sheets (appx 12x18 inches each).
Drizzle melted butter and about 2 Tbsp. chicken broth over each foil packet.
Season evenly (and generously), to taste with Cajun seasoning and salt and pepper.
Tightly seal foil packets by folding up the sides over the contents and tightly folding up the ends over the seam.
Grill 30-40 minutes or until potatoes are tender, flipping once half-way through (be careful opening the packets to check for doneness, the steam inside is VERY hot)!

-----------
Stick of Butter Rice

via: Thirty Handmade Days blog

1 c. uncooked white rice (NOT instant)
1 (10 oz) can of Condensed French Onion Soup
1 (10 oz) can of Beef Broth
1/2 c. of butter, sliced

Preheat oven to 425 degrees.

In a 9x9 inch baking dish combine rice, soup and broth.

Cut butter into slices and place on top of the mixture.

Cover with foil and bake for 30 minutes.

Remove cover and bake 30 minutes more.

This can be doubled or tripled to feed more. Optional: small can of drained mushrooms can be added as well.

-----------

Lemon Fettuccine Alfredo with Grilled Chicken and Broccoli
via: Cooking Classy
Yield: About 6 servings

Ingredients

12 oz dry fettuccine pasta
1 lb boneless skinless chicken breasts, grilled and sliced into strips
4 cups broccoli florets (from 1 lb broccoli crowns)
2 Tbsp butter
2 cloves garlic, minced
3 Tbsp flour
1 3/4 cups milk (preferably 1%)
Salt and freshly ground black pepper
3 oz. light or regular cream cheese, diced into cubes
1/2 cup (1.5 oz) finely shredded parmesan, plus more for serving
3 Tbsp heavy cream
1 Tbsp lemon zest, plus more for serving
1 Tbsp fresh lemon juice

Prepare pasta in salted water according to directions listed on package, adding in broccoli during last 5 minutes of boiling pasta (so they will both boil together during last 5 minutes, then drain them together. Reserve 1/4 cup pasta water just in case you want to thin sauce, I didn't use it but I always save some just in case).

In a large and deep skillet or pot, melt butter over medium heat then add in garlic and flour and cook 1 minute, stirring constantly. While whisking slowly pour milk into flour mixture, then cook, whisking vigorously to smooth lumps until mixture begins to thicken. Add in cream cheese and parmesan and whisk until melted (it will look lumpy at first but will begin to smooth). Mix in cream and season with salt and pepper to taste (I liked this with a fair amount of pepper). Stir in lemon zest and lemon juice.

Toss drained pasta and broccoli into sauce mixture along with chicken (thin with reserved pasta water if needed). Serve warm topped with additional parmesan, lemon zest and pepper as desired.

Recipe source: Cooking Classy, inspired by my Light Fettuccine Alfredo

-----------

Chicken Tikka Masala
via: All Recipes

1-1/2 cups yogurt
1 tablespoon and 1-1/2 teaspoons lemon juice
1 tablespoon ground cumin
1-1/2 teaspoons ground cinnamon (or garam masala)
1 tablespoon cayenne pepper
1 tablespoon freshly ground black pepper
1 tablespoon and 1-1/2 teaspoons minced fresh ginger
1/2 tablespoons salt, or to taste (adjusted)
4-1/2 boneless skinless chicken breasts, cut into bite-size pieces
6 long skewers
1 tablespoon and 1-1/2 teaspoons butter
1-1/2 - 3 cloves garlic, minced
1-1/2 jalapeno pepper, finely chopped
1 tablespoon ground cumin
1 tablespoon paprika
1 tablespoon and 1-1/2 teaspoons salt, or to taste
1-1/2 (8 ounce) cans tomato sauce
1-1/2 cups heavy cream
1/4 cup and 2 tablespoons chopped fresh cilantro

In a large bowl, combine yogurt, lemon juice, 2 teaspoons cumin, cinnamon, cayenne, black pepper, ginger, and 4 teaspoons salt. Stir in chicken, cover, and refrigerate for 1 hour.
Preheat a grill for high heat.
Lightly oil the grill grate. Thread chicken onto skewers, and discard marinade. Grill until juices run clear, about 5 minutes on each side.
Melt butter in a large heavy skillet over medium heat. Saute garlic and jalapeno for 1 minute. Season with 2 teaspoons cumin, paprika, and 3 teaspoons salt. Stir in tomato sauce and cream. Simmer on low heat until sauce thickens, about 20 minutes. Add grilled chicken, and simmer for 10 minutes. Transfer to a serving platter, and garnish with fresh cilantro.


Honey Glazed Salmon
via: Damn Delicious


4 salmon filets
Kosher salt and freshly ground black pepper, to taste
4 tablespoons all-purpose flour
4 tablespoons honey
2 tablespoons olive oil
Zest of 1 lime

FOR THE BROWNED BUTTER LIME SAUCE
6 tablespoons unsalted butter
2 cloves garlic, pressed
1 tablespoon honey
Juice of 1 lime
Kosher salt and freshly ground black pepper, to taste

Preheat oven to 400 degrees F.

To make the browned butter lime sauce, melt butter in a medium saucepan over medium heat. Cook, whisking constantly, until the foam subsides and the butter begins to turn a golden brown, about 3 minutes. Stir in garlic, honey and lime juice, salt and pepper, to taste; set aside.

Season salmon with salt and pepper, to taste. Dredge each salmon filet with 1 tablespoon flour and drizzle with 1 tablespoon honey.
Heat olive oil in a large oven-proof skillet over medium high heat. Working in batches, add salmon to the skillet and sear both sides until golden brown, about 1-2 minutes per side.

Place into oven and bake until completely cooked through, about 8-10 minutes.

Serve immediately with browned butter lime sauce and lime zest, if desired.

Friday, July 17, 2015

The Closing of This Chapter in Our Lives + Spicy Glazed Pork Chops & Country Apple Galette Recipes

We closed on Don's and Eleanor's house on Tuesday. It was a sad, sad day for all of us. We would have liked to keep the house in the family, but it was just not financially possible. I had to wait until today to compose this post because it was just too upsetting to write it any sooner.
I feel many different feelings simultaneously. I feel saddness, regret, happiness, frustration, stress, but most of all I feel kind of flat - that does not make any sense, but there it is. That is how I am feeling right now.

It was taken so much work to get to this point. Part of me is envious of the families that have a very short time to take care of business since it would be done and over quickly. Part of me is thankful that we had so long to take care of business, to prep the house, to have a few last parties, etc. We could take our time saying good-bye. I am both thankful for that, and I was a bit tortured by it.
On Sunday, we had a family meal at the house with our family, Doug, Mark and Lilia. We sat in the side yard taking in the sunset. I tried to sort of memorize it; I tried to remember what it felt like to sit with Don and Eleanor, enjoying the sunsets. It made me weepy.
On Monday we finished up removing stuff from the house. Ethan went around recording sounds that remind him of his childhood in the house. He recorded the closing of the garage door, the door into the house, the door to the porch. He recorded the sound of the cupboard doors being opened and the dishwasher closing. There is also a recording of the sound of the waterfall in the back yard. I think that is what I will miss the most, beyond all of the people related memories and sounds. We walked around, looking at everything, trying to memorize it. We knew that would be the last time we were there and that it would be the last time it still felt like home. That made me weepy, too. The people who bought the house are flippers. We may go back when they have an open house after the remodeling, but it will not feel like home then. As we drove away for the last time, I noticed that the neighborhood no longer feels like our neighborhood.

On Tuesday I cut some of the flowers from Eleanor's garden to make a few bouquets for our house. They are the last gifts from Grandma Eleanor. I was trying to find a way to close this chapter of our lives with something positive. Eleanor would have been happy to see the displays I've created with her flowers. I made one for Ellie and three for the rooms on the main floor of our house.
Larr took photographs out of most of the windows and of many of the common views within the house. He was doing his own kind of mourning.


I thought that this part would feel different; I thought it would feel more complete, and that I would feel happier. In reality, the part where we work over at that house is done, but there are boxes of stuff to be gone through, processed here at our house, in our garage and in a storage space. I am looking forward to when my life will feel like it is back to normal. How long will that take? I am not sure, I would not be surprised if it took another year to get to that point.


--------
Spicy Glazed Pork Chops
via: BudgetBytes

4 thick cut pork chops (bone-in or boneless)
¼ cup brown sugar
½ tsp cayenne powder
½ tsp garlic powder
½ tsp paprika
½ tsp salt
½ tsp black pepper


Preheat your oven to 350 degrees. In a bowl combine the brown sugar and spices (salt, pepper, cayenne, paprika and garlic powder or whatever spice blend you like).

Remove the pork chops from their package and rub the brown sugar/spice mix all over both sides. Use all of the spice mix.
Heat 2 Tbsp of olive oil in a skillet over medium/high heat. When the oil is nice and hot (it will look wavy in the pan), add the pork chops. Cook the chops for about 5 minutes on each side or until they are nicely browned.

If you are using an oven safe skillet, place the skillet in the oven for an additional 5 minutes to make sure they are cooked through. If your skillet is not oven safe (most plastic handled skillets and teflon are not safe in the oven), transfer the chops to a baking sheet lined with foil then place in the oven.

Remove the chops from the oven and drag each side around in the thick glaze that has formed around the chops in the pan prior to serving.

--------------------


Country Apple Galette

CONTRIBUTED BY JACQUES PÉPIN (Modified)
http://www.foodandwine.com/recipes/country-apple-galette


PASTRY
1 1/2 cups all-purpose flour
1 1/2 teaspoons sugar
1/4 teaspoon salt
1 stick plus 2 tablespoons cold unsalted butter, cut into small pieces
1/3 cup ice water

TOPPING
4 Golden Delicious apples
2 tablespoons sugar
1/2 teaspoon cinnamon
1 tablespoon honey, preferably wildflower
1 tablespoon unsalted butter, cut into small pieces

In a food processor, combine the flour with the sugar, salt and butter and process for about 5 seconds. Sprinkle the ice water over the flour mixture and process until the pastry just begins to come together, about 10 seconds; you should still be able to see small pieces of butter in it. Transfer the pastry to a work surface, gather it together and pat into a disk. Wrap the pastry in plastic or wax paper and refrigerate until chilled. (You can also roll out the pastry and use it right away.)

Roll out dough between sheets of parchment paper to 1/8-inch-thick round, 14 inches in diameter. Remove top sheet of parchment. Using bottom sheet as aid, transfer dough on parchment to large unrimmed baking sheet. Chill 15 minutes.

Peel, halve and core the apples and slice them crosswise 1/4 inch thick. Set aside the larger center slices and coarsely chop the end slices and any broken ones; about half of the slices should be chopped. In a small bowl, combine the sugar and cinnamon.

Spread preserves over crust, leaving 1 1/2-inch plain border. Arrange apple slices in concentric circles atop preserves, overlapping slightly. Using parchment as aid, fold plain crust border up over apples, pinching any cracks in crust. Brush crust with milk. Sprinkle crust edges and apples with remaining 2 tablespoons sugar.

Preheat the oven to 400°. On a lightly floured work surface, roll out the pastry to a 12-by-14-inch rectangle and transfer to a large rimmed baking sheet. Spread the chopped apples over the pastry to within 1 inch of the edge. Drizzle the honey over the chopped apples. Decoratively arrange the apple slices on top in concentric circles or in slightly overlapping rows. Sprinkle the cinnamon sugar evenly over the apples and dot with the pieces of butter. Fold the pastry edge up and over the apples to create a 1-inch border.
Bake the galette for about 1 hour, until the pastry is nicely browned and crisp and all of the apples are tender. Transfer the pan to a rack and let the galette cool. Serve warm or at room temperature.

Thursday, April 30, 2015

My Newest Frida Kahlo Piece of Art, Making Cotton Candy + Chicken Curry with Spring Vegatables, Chinese Broccoli Beef Noodle Stir Fry & Japanese Christmas Cake Recipes

I've spent some focused time during the last few days trying to finish this piece, "Frida in a Shawl," so that it can be included on the poster for the Bella Frida part of the artwalk in Louisville in June. It is very exciting to have this opportunity. This piece is not actually finished, but it is close enough to be photographed. I actually like it better when viewed in person, than viewing the the photograph of it.

Here's what it started out as:
It starts with a drawing based on the following photograph.
Then I colored the image with colored pencils.

And then I added the encaustic wax and the wax covered tissue paper flowers. I really like this piece. Hopefully it will sell, so I might make another one, though a second one would not look the same as the encaustic colors are very organic in the way they combine.

I have an idea for a third piece in this series that I am hoping to start very soon.

We are also getting geared up for Ellie's graduation party. Natalie's kids have lent us their cotton candy machine. Ellie, Kenzie and Katy had fun figuring out how to use it. It was both fun and a bit scary. It was sort of like electric, tasty spider webs.


-------

I made this for Ethan and I this evening, in between working on the "Frida in a Shawl" encaustic. I worked on the encaustic a little, worked on making dinner while the wax cooled, etc. I served rice cooked in chicken stock. Ethan suggested that next time I make rice cooled with coconut water. That is a great idea.

Chicken Curry with Spring Vegetables
via: Eat Well 101


Serves 6
2 lbs (1kg) skinless chicken breasts, cubed
3 tablespoons olive or coconut oil
Salt and fresh cracked black pepper, to taste
1 large onion, chopped
2 cloves garlic, finely chopped
1 piece of fresh ginger, peeled and grated
1 red bell pepper, minced
4 cups fresh spring vegetables: asparagus, green peas, snap peas…
2-3 tablespoons curry powder*
1 teaspoon ground cumin*
1 ½ cups (350ml) chicken stock or vegetable stock
1 cup (240ml) coconut milk
Fresh cilantro, chopped (optional, for garnish)
Lime wedges, for garnish
(Cashews or peanuts for garnish)

* I doubled the amount of seasonings to make it more intensely flavored.

1. Season chicken pieces with salt and black pepper. Heat oil in a large pot over medium heat. Add the chicken pieces in batches and lightly brown. Remove and transfer to a plate and continue cooking all the chicken the same way. Avoid crowding the pot because the chicken will steam instead of browning.

2. Add the onion, garlic and ginger to the pot and cook about 5 minutes, until softened. Add the bell pepper, asparagus, green peas and snap peas. Cook another few minutes.

3. Add the chicken back to the pot. Add the curry powder and cumin. Cook, stirring for 1 minute. Add the stock, cover the pot and simmer gently, stirring occasionally for about 15-20 minutes. The chicken should be cooked through.

4. Add the coconut milk, and simmer gently uncovered for 5 minutes, stirring until the sauce is thickened. Serve over rice, with lime wedges and chopped cilantro for garnish.

------------------
Ellie and Kohlton made this for dinner and dessert recently. It was a lovely meal:

Chinese Broccoli Beef Noodle Stir Fry
via: Steamy Kitchen

3 tablespoons soy sauce
3 tablespoons oyster sauce
3 tablespoons Shaoxing wine, sake or dry white wine
1 tablespoon sugar
1 tablespoon tapioca starch or cornstarch
1 teaspoon dark sesame oil
1 pound beef sirloin, thinly sliced
1 pound fresh or 10 ounces dried noodles
2 tablespoons vegetable oil
3 large garlic cloves, crushed and finely chopped
1.25 cups chicken or vegetable stock
1 pound Chinese broccoli or regular common broccoli, cut into bite-size chunks or florets
Freshly ground black pepper
Directions:
In a medium bowl, whisk together 1 tablespoon each soy sauce, oyster sauce and rice wine. Add the sugar and continue to whisk until completely dissolved. Stir in the tapioca starch and continue stirring until smooth. Add the sesame oil and beef, and mix well. Marinate for 20 minutes. Drain and discard the excess marinade.

Bring a large pot of water to a boil. Cook the noodles until 1 minute shy of done and drain. (We'll finish cooking the noodles at the end)

Heat 1 tablespoon of the vegetable oil in a skillet or wok over high heat and stir-fry the garlic until fragrant, about 1o seconds. Add the beef and stir-fry until tender, 1 to 2 minutes. Transfer to a plate. Add the remaining tablespoon of oil and when hot, add the Chinese broccoli, stir frying so that the oil coats the Chinese broccoli. Pour in the 1/4 cup of the stock, turn the heat to medium-low and cover with a tight fitting lid. Cook the Chinese broccoli until tender, 3 to 5 minutes. Transfer the Chinese broccoli to the same plate.

Add the remaining cup of stock and the remaining 2 tablespoons each of soy sauce, oyster sauce, and rice wine to the same skillet and bring to a boil over
high heat.

Add the noodles and cook until the liquid has almost completely evaporated, leaving the noodles lightly moistened,2 to 3 minutes. Return the beef and broccoli to the skillet and toss to mix the ingredients thoroughly. Season with pepper to taste and serve.


----------
Japanese Christmas Cake
via: Sugar and Snapshots

KASUTERA SPONGE CAKE
2 tablespoons milk
2 tablespoons honey
4 eggs
3/4 cup sugar
3/4 cup flour, sifted

STABILIZED WHIPPING CREAM
2 cups heavy cream
4 tsp cold water
4 tsp agar agar or unflavored gelatin
1/2 cup frosting sugar
ALSO NEEDED
1 pint of fresh strawberries, hulled, washed and halved.

KASUTERA SPONGE CAKE
Preheat oven to 350° F
Use a large 5″x9″ loaf pan or 8″ spring form pan. Line it with waxed paper.
Place milk in a small microwave-safe bowl and heat just to warm (about 10 to 15 seconds). Mix honey in the warm milk, set aside.
Fill a large bowl with warm water, set aside.
Using an electric hand-mixer, whisk the eggs in a large bowl, adding the sugar gradually until completely combined.
Place the bowl over the large bowl with warm water, continue to whisk the egg mixture until it becomes light yellow (almost white), remove from heat and add the honey and milk mixture and whisk to combine and cool the mixture slightly
Sift flour, holding sieve nice and high above the bowl to get plenty of air in the flour as it goes down into the bowl, into the egg mixture. Using a large bubble whisk gently fold the flour into the egg mixture.
Pour the batter in lined pan and tap the pan. Tap very gently on the table to release any air bubbles. Bake at 350° F for 10 minutes, then turn down oven temperature to 300° F and continue to bake for about 40 minutes, or until a cake tester inserted in the middle of the Kasutera comes out clean.
Remove Kasutera from oven and grasping the parchment on both sides of pan lift the Kasutera out, carefully remove parchment and place on wire rack to cool.

STABILIZED WHIPPING CREAM
In the bowl of your stand mixer pour the heavy cream into the bowl and place in the refrigerator to chill bowl and cream.
In a small microwaveable bowl combine the cold water and agar agar or gelatin into the bowl and whisk to combine, keep whisking until the mixture is thick and looks dissolved.
Place in microwave for 10 seconds until warm and continue to mix until cool. It should thicken slightly and not look grainy but smooth and syrup like.
Put the chilled bowl of cream onto the mixer and on medium high speed with a whisk attachment, whisk until almost at soft peak. Add in the sugar slowly to the thick cream, and when it is at the soft peak stage slowly drizzle in the agar agar mixture into the cream until it thickens to desired constancy, I stopped at stiff peaks.

ASSEMBLY
Stabilized whipping cream (above)
Kasutera sponge (above)

1 pint of strawberries, hulled, washed and halved.

In the same container that was used to bake the sponge, line it with wax paper leaving an over hang enough to lift out the cake when assembled and chilled.
Cut the sponge in half as evenly as possible. Place half of the sponge cake in the bottom of the pan. Layer a very thin layer of the whipped cream on top of the sponge.
Arrange the strawberry halves around the entire pan. You can arrange them how ever you wish. I stood them up on the bases.
Layer 2/3 of the cream over the strawberries until you are unable to see the tops through the cream.
Add the last layer of sponge on top of the cream and gently push down to spread the cream in between the berries.
Using 1/2 of the remaining cream spread a thin layer on top of the sponge cake in an even flat layer. Refrigerate for 3-4 hours, You can use the remaining cream to pipe a decoration along the edge of the cake when ready to serve.

When ready to serve. Place your cake container next to your serving platter, and gently lift it out of the pan (or remove sides if you chose to use a spring form pan) and place on the platter. With a kitchen assistant and a large flat angled spatula you can then gently peel down the sides of the paper and lift the cake to remove the parchment on the bottom. At this point you have an option to use the remaining cream to pipe a decoration along the edge of the cake. Gently slice and decorate with extra cream and berries.
Recipes adapted from La Fuji Mama

Saturday, January 03, 2015

My Birthday - Better Than Expected + Trifle Recipes

My 50th birthday was on New Year's Eve. Since it was just a short week after my father-in-law's death, none of us were in much of a mood to celebrate. However, my kids and a few friends made sure that it was still a special day - and it was much more fun than I had expected it to be.
The kids made Rio muffins for breakfast. They were fun and silly. (I loved the fact that there was not any fighting.)
We had a leisurely breakfast and more silliness.


Then Natalie and Ben stopped by. I had not even imagined that she would have a birthday present for me since the Silver Tree was the best possible present. However, she had another thoughtful, very Tammy-like, perfect for me, present. Over Thanksgiving break she had been in Chinatown in California and she must have had an extra suitcase since she brought me an entire, wonderfully themed present of things dealing with China. The cups in the tea set are double walled so that you can drink hot tea without burning your hands.

Ben gifted me by taking Remmie outside to play. Since Don has died, we have not made it out to the dog park, yet. It was delightful to see the two of them romping together in the snow. That helped the dog feel more contented than I think he had for some number of days.


Our friend Curt also sent me flowers. And I had literally just been thinking that it would be so nice to have some flowers that I was thinking of buying some for myself.


Later in the day we went to The Source. It is a new place that used to be some sort of factory. Now it houses a bunch of cool, very hipstery shops. A few of my foodie friends told me about it, so I thought it was worth checking out.

We had a fabulous lunch at Comida where they serve food that is Mexican Street food with a Southern twist. It was very tasty!

We started out with Not ‘Yo Nachos (Comida House Chips, blend of cotija, smoked gouda and asadero cheeses, black beans, avocado and tomatillo chile verde & chorizo). I loved the picked red onion on top the best of all. We also had a variety of tacos:


Stella’s Pork Carnitas
Slow cooked pork shoulder in Stella Artois over smoked gouda sweet potato mash with pineapple habañero salsa

Marinated Fish
Daily fish selection marinated in serranos and lime with orange jalapeño slaw and the business

Arrachera
Grilled skirt steak over refritos with roasted onions, pico de gallo, house crema and cotija

Bacon and Jalapeño
with cotija, smoked gouda and asadero

Roasted Chicken Quesadillas
with Comida Salsa with a a blend of cotija, smoked gouda and asadero cheeses. Topped with crema and served with salsa on the side.

Arrachera and Roasted Onion Quesadillas
with a a blend of cotija, smoked gouda and asadero cheeses with Pico de Gallo.


We also checked out some of the lovely shops.


Western Daughters

Beet and Yarrow

Mondo Market

Proper Pour


I had specifically wanted to go to Babbette's, but they had sold all of their loaves of bread before we arrived and thus, closed, so I will have to go back again.

I would have liked to see more, but they were closing early since it was a holiday.

In the evening the kids went their separate ways. Ethan spent the evening with two of his friends at a bar since he was finally old enough to do so. Ellie and Kohlton had a celebration over at Christy's house where they made cheese fondue and two kinds of trifle for dessert.


Larr and I had a quiet evening. We went to bed early, expect that I could not sleep, so I slipped out of bed quietly and sat down stairs looking at my new books by the soft glow of the Silver tree. Near midnight there were small,light sounds of fireworks. Fat, fluffy snowflakes floated down and I was content.

There are big changes ahead and I expect 2015 to be a much less stressful year.


Here are the recipes that Ellie used:


Strawberry and Pound Cake Trifle
via: Sandy Toes and Popsicles

1 pound cake
1 large box instant vanilla pudding, prepared
4 cups of sliced strawberries
whipped cream

Cut the angel food cake into bite sized pieces.

In your trifle dish, place 1/2 of the angel food cake pieces into the bottom. slightly press them down making the first layer even.

Pour 1/2 of the pudding into the center of the dish. then spread it evenly over the angel food cake layer. the key to a trifle is the layering, so be careful not to let the ingredients smear around the sides of the trifle dish.

Next, layer 1/2 of the strawberry slices over the pudding. it makes a nicer display to put the best strawberries against the dish where they will be seen.

Now you will repeat layering the angel food cake, the pudding and the strawberries in the trifle dish making two layers of each.

The final step is topping off the dessert with whipped cream. i prefer to use homemade whip cream as i feel it makes all the difference. just whip a pint of heavy whipping cream until soft peaks form and add powdered sugar to taste.

----------

Dirt Cake Trifle
via: The Happier Homemaker

1/3 cup butter or margarine
1 8 oz container of Cool Whip
1 package Oreos
2 packages French Vanilla Jello INSTANT Pudding
1 8 oz container Cream Cheese
1 cup powdered sugar
3.5 cups milk

Cream together butter, cream cheese, and powdered sugar.

In a separate bowl whisk pudding, milk, and Cool Whip. Add in cream cheese mixture.

Crush Oreos. (I like to put mine in a gallon Ziploc bag and let the boys crush them with a rolling pin, just make sure the bag is all the way closed!)

Layer cookie and pudding mixture and chill! ****Chill at least 2 hours before serving****

----

Rainbow Cake Trifle (she did not get to this one since she went out with us. However, I still think it is worth including here.)
via: The Kitchen Magpie


1 box of white cake mix (and ingredients to make it)
Food Coloring
3 cups of Whipped Cream
2 packages of Jello White Chocolate Instant Pudding . prepared according to package instructions.

Whip up one white cake mix according to the package instructions, then divide the batter into 6 cups.

Using any cake gels, food coloring or icing gels, color up the white batter.

You are going to make two cakes, so grease up two 8 inch cake tins.

Pour half of your red batter into the first one, reserving half for the second cake. Do not push it around, just let it move out naturally to the edges.

Pour the orange right in the middle of the red (again, only half of your batter, save half for the second cake) and that’s going to push the red even closer to the edge.

Keep going with the yellow, green, blue and purple, pout half of each into the very middle until you see a cake like below.

You can wiggle the pan side to side very slightly to help the batter move out.

Tap the pan on the table or counter lightly to remove bubbles.

Repeat with your second cake.

Bake the cakes according to the package instructions, cool and remove. You can at this point freeze them if you aren’t making the trifle right away.

The secret to the rainbow stripes is shown in the photos. It’s all about the direction you cut the cake!

Slice your cake exactly as shown in the photos and you will have gorgeous rainbow slices.

Place the best looking center pieces that are full rainbows on the edges like shown in the photos.Fill in the middle of the trifle with the pieces of cake that aren’t full rainbow slices.

To make each layer, place the cake layers down, put a third of the white chocolate pudding on top, then a third of the whipped cream. Then start another cake layer and repeat two more times.

Top the whipped cream with leftover rainbow cake crumbs.
Refrigerate at least 6 hours but it's far better if you make this the day before and refrigerate it overnight.